How we will approach our orders going forward with the CUPW strike.
Store address and hours
location_on 4131 Fraser St. Vancouver BC Get Directions
phone 604-875-1993 Call us
access_time Hours
| Monday - Friday | 9AM - 5:30PM |
| Saturday - Sunday & Holidays | Closed | See Holiday Hours |

-
 close
close -
CATEGORIES
-
-
-
-
-
-
-
-
-
-
-
-
-
Featured Items
-
-
-
-
-
-
-
More mirco-controllers
-
More Developement Tools
-
-
More Prototyping
-
More Modules
-
-
Featured Items
-
More prototyping Tools
-
-
-
-
-
-
-
-
Featured Item
-
-
-
-
-
-
-
Featured Items
-
-
-
-
-
-
-
-
-
-
Featured Items
-
-
-
-
-
-
-
-
-
-
-
Featured Items
-
-
-
-
-
-
-
-
-
Featured Items
-
-
-
-
-
-
Popular Cleaners
-
-
-
Featured Items
-
-
-
-
-
-
-
Featured Items
-
-
-
-
-
Featured Items
-
-
-
-
Featured Products
-
-
-
-
-
more motor
-
-
more power supplies
-
-
Featured Items
-
-
-
more electrical devices
-
-
-
-
-
-
-
Featured Items
-
-
-
-
-
-
BRANDS
-
- PROJECTS
-
COMMUNITY
-
-
-
FEATURED POSTS
-
-
-
- SALE
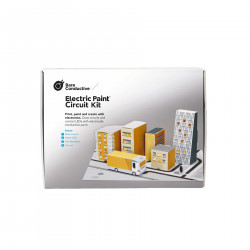
Electric Paint Circuit Kit
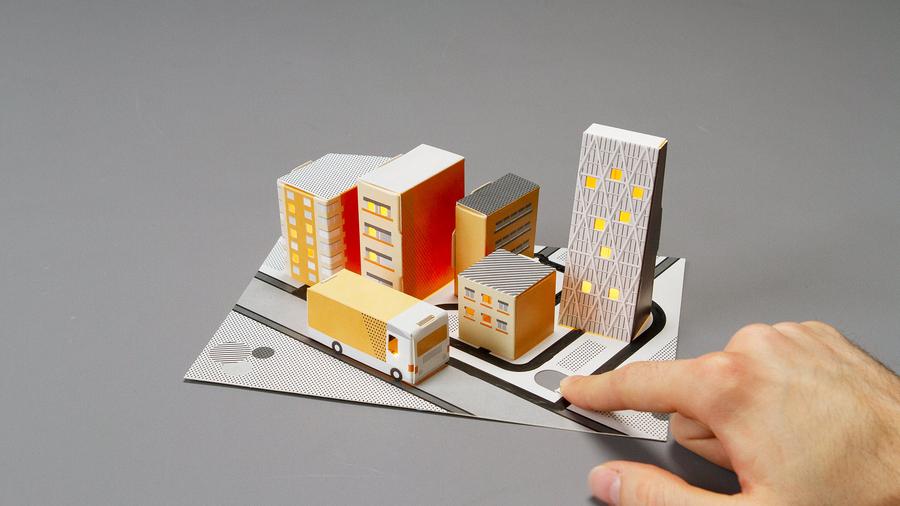
If you are new to Bare Conductive's Electric Paint, then the Electric Paint Circuit Kit is the perfect kit to get you started with playing with it! This simple kit is the perfect introduction with instructions on how to construct a miniature paper city by drawing a circuit from the Electric Paint tube, connecting LEDs to the circuit, and powering it with a 9V battery.
We are hosting a giveaway from June 8 - June 29 to give a total of 3 of these kits out to 3 lucky winners.
Click here for more information
Content Inside the Kit:
- 1x Electric Paint 10mL Tube
- 5x LED carrier board
- 1x Card base template
- 6x Assorted 3D objects to fold
- Not Included: 9V battery
Step 1: Attach the LEDs and paint the circuit
Place an LED on the marked position of the template provided in the kit and make sure to align the "+" and "-" of the LED. Then, apply Electric Paint between the LED and the circuit by squeezing the 10mL tube at a 90-degree angle. Since the Electric Paint works as a cold solder, this will conductively connect the LED and the circuit together. Repeat this for all the marked LED positions. Next is to paint over all the roads which result in a closed circuit in our city. Finally, use the Electric Paint and paint the button, this will act as our switch to turn the LEDs on.
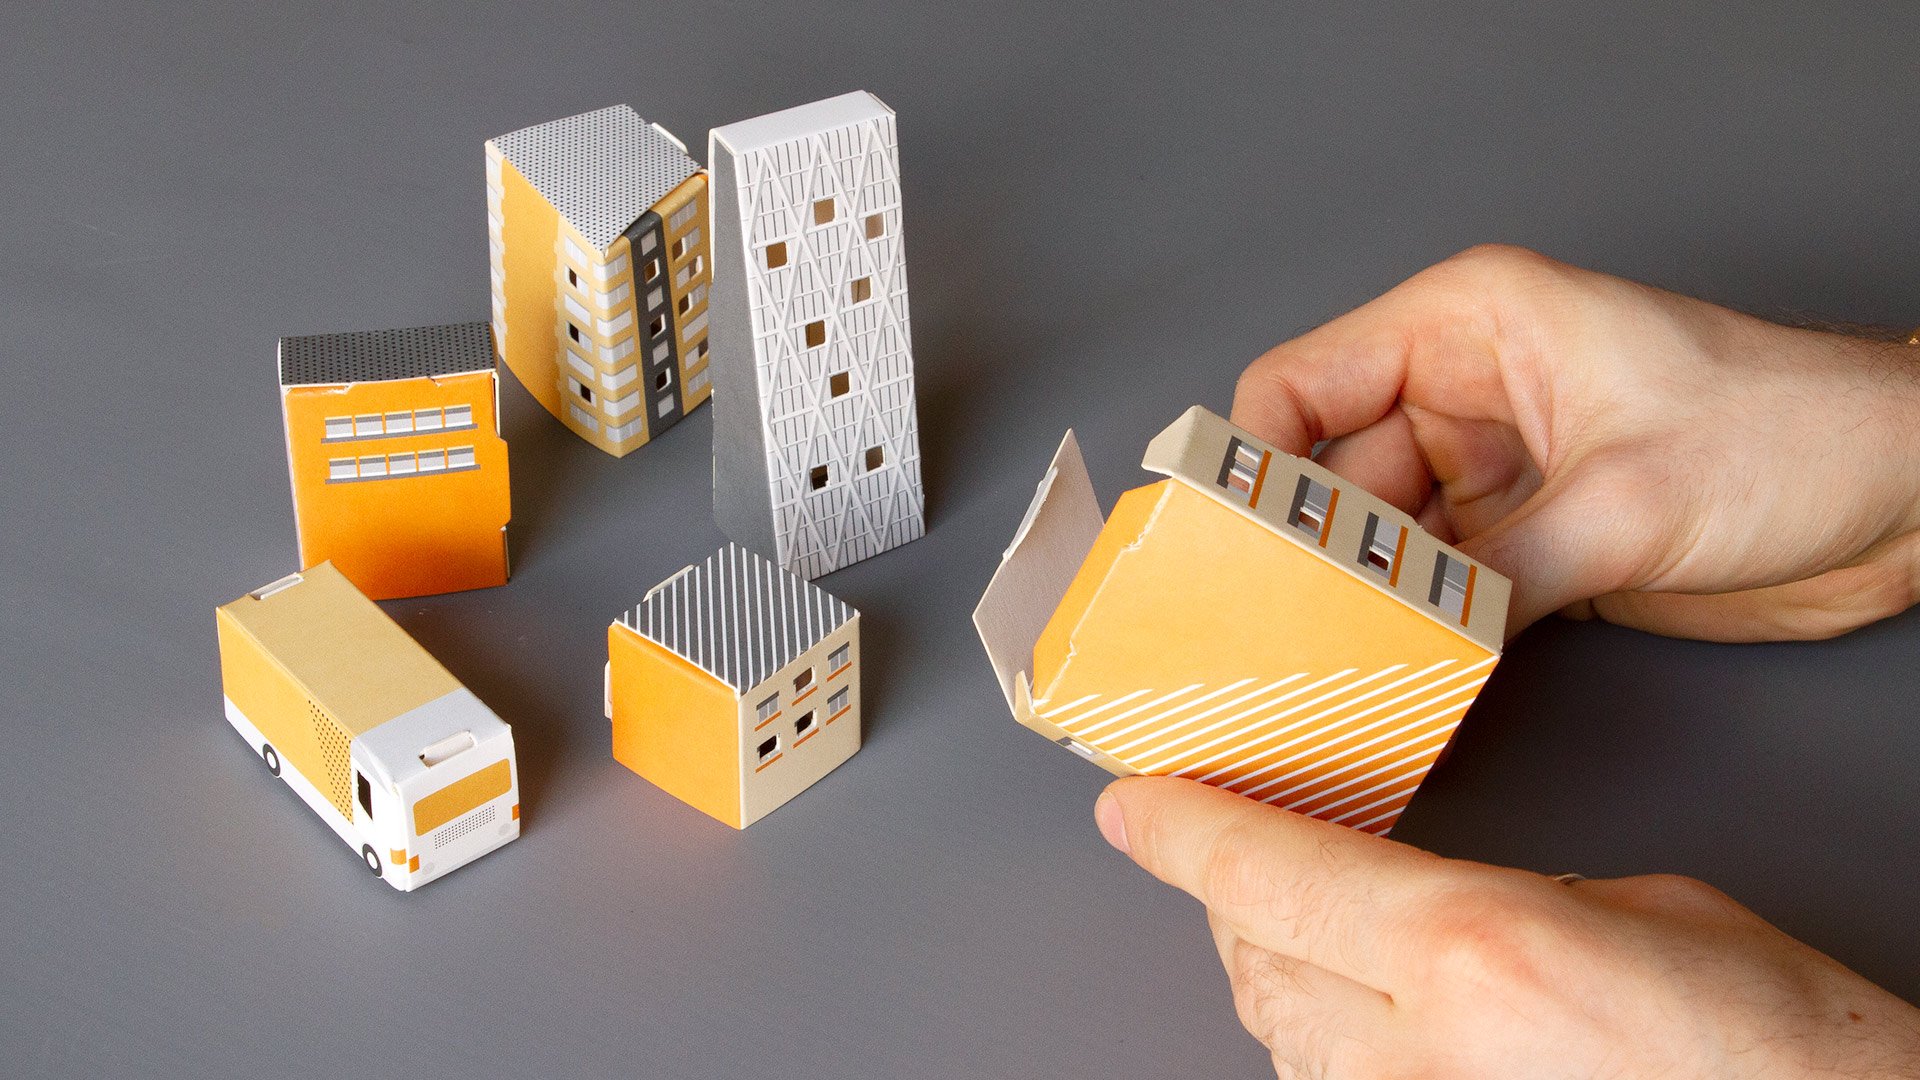
Step 2: Fold the buildings
While we wait for the paint to dry (15 minutes). We can start folding the buildings found in our kit. Don't forget to remove the windows of each of the houses. There will be one building that does not have any windows to pop out, so folding is only necessary for that particular one.
Step 3: Test
When the paint dries, we can finally give it a test. Place a 9V battery on the base while making sure to place the "+" and "-" of the battery in the respective position marked on the base. All the LEDs except the one at the bottom should light up. To test the final bottom LED, press the button to see if it lights up.
If one or more LEDs do not light up, check to see if there are any cracks in the surface. If you see any cracks, then the circuit is broken but it can be easily fixed by applying more Electric Paint to the affected area.
Step 4: Add the buildings
When everything is tested and all the LEDs are lighting up from the test, it is time to add the buildings we folded from step 2. You can place the buildings wherever you want except the build without any removable windows. This building is used to "hide" the battery making it invisible from the overall city look. The "+" of the battery should be placed next to the flap inside of the building without removable windows. With all the buildings and battery in place, try pressing the button again. The city should light up and now we have an interactive city that lights up with the push of a button.
Related products
-
BARE CONDUCTIVE, ELECTRIC PAINT CIRCUIT KIT, SKU-1510
Price: CA$35.00BARE CONDUCTIVE, ELECTRIC PAINT CIRCUIT KIT, SKU-1510 -
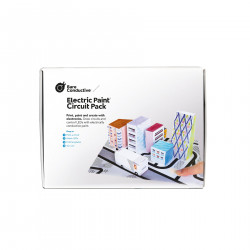
BARE CONDUCTIVE, ELECTRIC PAINT CIRCUIT PACK, SKU-1527
Price: CA$210.00BARE CONDUCTIVE, ELECTRIC PAINT CIRCUIT PACK, SKU-1527
Related posts
-
 Available Electric Paint Sizes
06/01/2021886 viewsListed here are the available sizes of Electric Paint and potential ideas for each sizeRead more
 -
 Five Things you can do with an Electric Paint 10mL Tube
06/01/2021886 viewsHere are five things you can do with Electric PaintRead more
 -
 Five Things you can do with a 50mL Electric Paint Jar
06/02/2021962 viewsHere are five things you can do with a 50mL Electric Paint jarRead more
 -
 Electric Paint Lamp Kit
06/08/2021832 viewsAll about Bare Conductive's Electric Paint Lamp KitRead more
 -
 Make a Touch Lamp from the Electric Paint Lamp Kit
06/08/2021844 viewsSteps on how to create a touch lamp from the Electric Paint Lamp KitRead more


.png)
