Store address and hours
location_on 4131 Fraser St. Vancouver BC Get Directions
phone 604-875-1993 Call us
access_time Hours
| Monday - Friday | 9AM - 5:30PM |
| Saturday - Sunday & Holidays | Closed | See Holiday Hours |

-
 close
close -
CATEGORIES
-
-
-
-
-
-
-
-
-
-
-
-
-
Featured Items
-
-
-
-
-
-
-
More mirco-controllers
-
More Developement Tools
-
-
More Prototyping
-
More Modules
-
-
Featured Items
-
More prototyping Tools
-
-
-
-
-
-
-
-
Featured Item
-
-
-
-
-
-
-
Featured Items
-
-
-
-
-
-
-
-
-
-
Featured Items
-
-
-
-
-
-
-
-
-
-
-
Featured Items
-
-
-
-
-
-
-
-
-
Featured Items
-
-
-
-
-
-
Popular Cleaners
-
-
-
Featured Items
-
-
-
-
-
-
-
Featured Items
-
-
-
-
-
Featured Items
-
-
-
-
Featured Products
-
-
-
-
-
more motor
-
-
more power supplies
-
-
Featured Items
-
-
-
more electrical devices
-
-
-
-
-
-
-
Featured Items
-
-
-
-
-
-
BRANDS
-
- PROJECTS
-
COMMUNITY
-
-
-
FEATURED POSTS
-
-
-
- SALE
SILICON MEMS MICROPHONE - SPW2430
Description
DESCRIPTION
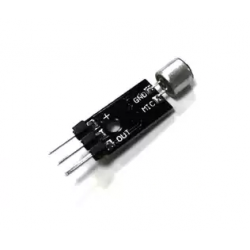
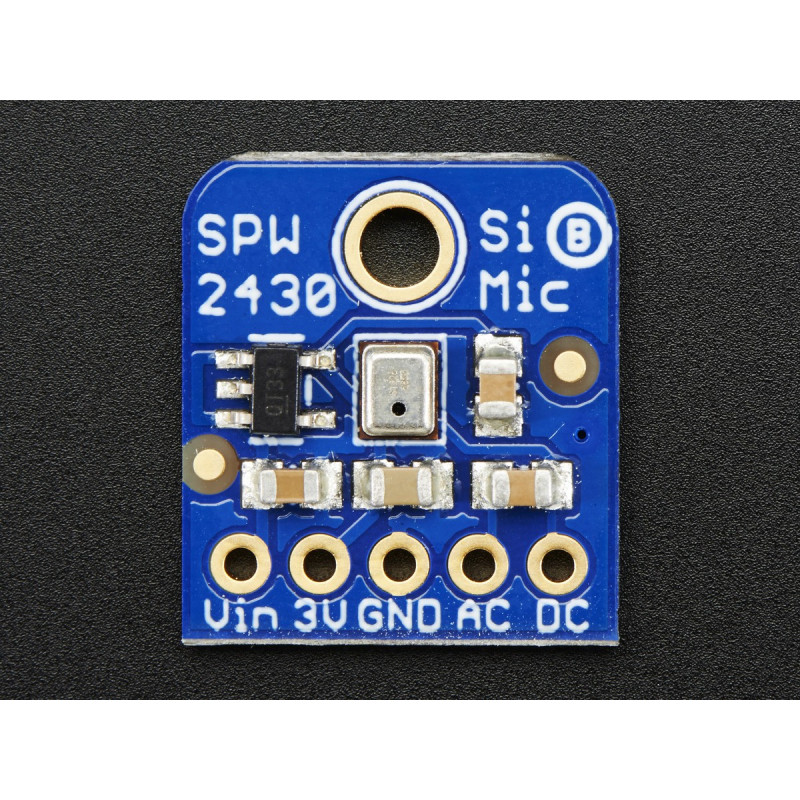
Listen to this good news - we now have a breakout board for a super tiny MEMS microphone. Just like 'classic' electret microphones, MEMS mics can detect sound and convert it to voltage, but they don't need a bias resistor or amplifier, its all in one! The SPW2430 is a small, low cost MEMS mic with a range of 100Hz - 10KHz, good for just about all general audio recording/detection.
This breakout is best used for projects such as voice changers, audio recording/sampling, and audio-reactive projects that use FFT. To keep the breakout small and simple, we only added a 3V voltage regulator (the microphone requires 3.3V DC) and filter capacitors. No additional opamp is included, the output peak-to-peak voltage has a 0.67V DC bias and about 100mVpp (peak-to-peak) when talking near the microphone, which is good for attaching to something that expects 'line level' input without clipping. The peak-to-peak can be as high as 1Vpp if there's a very loud sound. If you are If you need a microphone with adjustable gain or auto-gain control, check out our mic+amplifier options. If you need a higher peak-to-peak, a rail-to-rail op-amp and some resistors can get you boosted up!
Using it is simple: connect GND to ground, Vin to 3.3-5VDC. For the best performance, use the "quietest" supply available (on an Arduino, this would be the 3.3V supply). The audio waveform will come out of the DC pin. The output will have a DC bias of 0.67V so when its perfectly quiet that's what you'll read, there's a little drift. If the audio equipment you're using requires AC coupled audio, you can grab the signal out of the AC pin, which has a 10uF capacitor in series.
The output pin is not designed to drive speakers or anything but the smallest in-ear headphones - you'll need an audio amplifier (such as our 3.7W stereo amp) if you want to connect the amp directly to speakers. If you're connecting to a microcontroller pin, you don't need an amplifier or decoupling capacitor - connect the DC pin directly to the microcontroller ADC pin.
Frequently bought together
Related products


.png)
