How we will approach our orders going forward with the CUPW strike.
Store address and hours
location_on 4131 Fraser St. Vancouver BC Get Directions
phone 604-875-1993 Call us
access_time Hours
| Monday - Friday | 9AM - 5:30PM |
| Saturday - Sunday & Holidays | Closed | See Holiday Hours |

-
 close
close -
CATEGORIES
-
-
-
-
-
-
-
-
-
-
-
-
-
Featured Item
-
-
-
-
-
-
-
more electrical devices
More electrical devices -
more electrical devices
More electrical devices
-
-
more electrical devices
More electrical devices -
more electrical devices
More electrical devices
-
-
Featured Items
-
more electrical devices
More electrical devices
-
-
-
-
-
-
-
-
Featured Item
-
-
-
-
-
-
-
Featured Items
-
-
-
-
-
-
-
-
Featured Items
-
-
-
Featured Items
-
-
-
-
-
-
-
-
-
-
-
Featured Items
-
-
-
-
-
-
-
-
-
Featured Items
-
-
-
-
-
-
featured
-
-
-
Featured Items
-
-
-
-
-
-
-
Featured Items
-
-
-
-
-
Featured Items
-
-
-
-
Featured Products
-
-
-
More Filaments
More Filaments
-
-
-
-
more electrical devices
More electrical devices
-
-
more electrical devices
More electrical devices
-
-
Electrical Devices
-
-
-
more electrical devices
More electrical devices
-
-
-
-
-
-
-
Featured Products
-
-
-
Featured Products
-
-
-
-
BRANDS
-
-
-
-
Brands/Manufacturers
-
-
Manufacturer 3
-
-
- PROJECTS
-
COMMUNITY
-
- SALE Sale
Make a Touch Lamp from the Electric Paint Lamp Kit
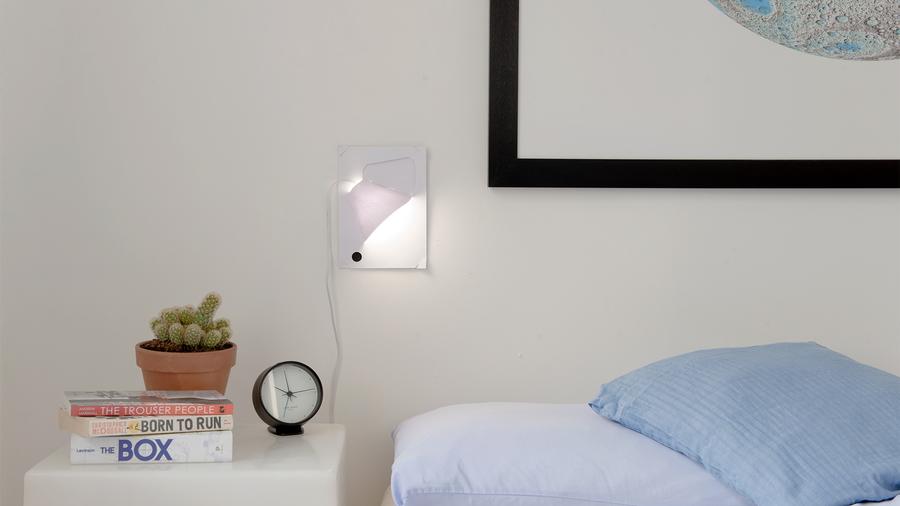
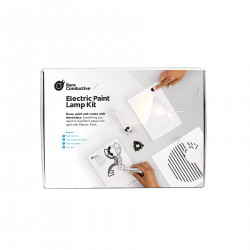
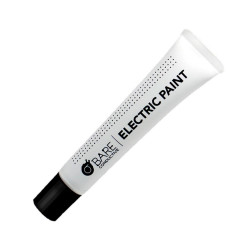
Whether you just completed the Electric Paint Lamp Kit Instruction Test Sheet or you want some visual reinforcement when making your Touch Lamp, this tutorial provides step-by-step videos to guide you in making the Touch Lamp. All you need is the Light Up Board, an Electric Paint 10mL Tube, and the Touch Lamp template and lampshade.
We recommend going through the Instruction Sheet first as it provides a tutorial to ensure that you are confident in applying Electric Paint and attaching the Light Up Board before
you get started with the template.
Step 1: Apply Electric Paint
First, apply Electric Paint inside the grey outlines to fill in the connection and switch. The paint takes approximately 15 minutes to dry and must be completely dry before we attach the Light Up Board. In the meantime, we can start making the lampshade while we wait for the paint to dry. Just skip to Step 5 and come back later.
Step 2: Attach the Light Up Board
Once the paint has fully dried and isn't tacky anymore, it's time to attach the Light Up Board. Use the Twisting Skills that you have learned from the Instruction Test Sheet!
Step 3: Cold Solder
With the board in place, we can now cold solder. Blob a droplet of Electric Paint inside the sensor's E0, E9, and E10. This will ensure a robust connection between your paint and board. After you have applied the Electric Paint, we need to wait for the paint to dry for another 15 minutes.
Step 4: Test
When everything has dried, we should test it!. Connect the Light Up Board with the USB cable to a power source and touch the switch you have made with Electric Paint. The board should light up! If it works, you can disconnect the cable from the board for now. If it does not work, check to see if the painted areas have cracks in them, if they do apply some more Electric Paint to patch it up.
Step 5: Fold the lampshade
Now it is time for the lampshade! If you look at the lampshade. you can see that it has two dashed lines. You need to make a "mountain fold" for each of these. Take a look at the video to see how it is done.
Step 6: Attach the lampshade
There are two tabs on the lampshade. These are used to attach the lampshade onto the template sheet with the Light Up Board. Simply slide the tabs into each of the corresponding slits one at a time.
Step 7: Complete the lampshade and turn the Touch Lamp on
You can now connect the USB cable to the Light Up Board again. Fold the lampshade over and insert the two tabs into the slits Touch the switch and your board should light up! Congratulations, we have made our Touch Lamp! You can now hang it anywhere we want to have a light source.
For more information about the Electric Paint Lamp Kit: Click Here
Related products
-
BARE CONDUCTIVE , ELECTRIC PAINT LAMP KIT, SKU-1107
Price: 70,00 CA$BARE CONDUCTIVE , ELECTRIC PAINT LAMP KIT, SKU-1107 -
TOOL, BARE CONDUCTIVE ELECTRIC PAINT PEN (10ML)
Price: 17,50 CA$TOOL, BAREPAINT CONDUCTIVE ELECTRIC PAINT PEN (10ML). Bare Conductive’s... -
BARE CONDUCTIVE, LIGHT UP BOARD, SKU-1312
Price: 40,00 CA$
Related posts
-
 Electric Paint
06/01/2021900 viewsLearn more about Bare Conductive's Electric Paint!Read more
 -
 Five Things you can do with an Electric Paint 10mL Tube
06/01/2021904 viewsHere are five things you can do with Electric PaintRead more
 -
 Five Things you can do with a 50mL Electric Paint Jar
06/02/2021975 viewsHere are five things you can do with a 50mL Electric Paint jarRead more
 -
 Electric Paint Circuit Kit
06/02/20211057 viewsInformation about Bare Conductive's Electric Paint Circuit KitRead more
 -
 Electric Lamp Kit
06/08/2021856 viewsAll about Bare Conductive's Electric Lamp KitRead more


.png)
