
location_on 4131 Fraser St. Vancouver BC Get Directions
phone 604-875-1993 Call us
access_time Hours
| Monday - Friday | 9AM - 5:30PM |
| Saturday - Sunday & Holidays | Closed | See Holiday Hours |



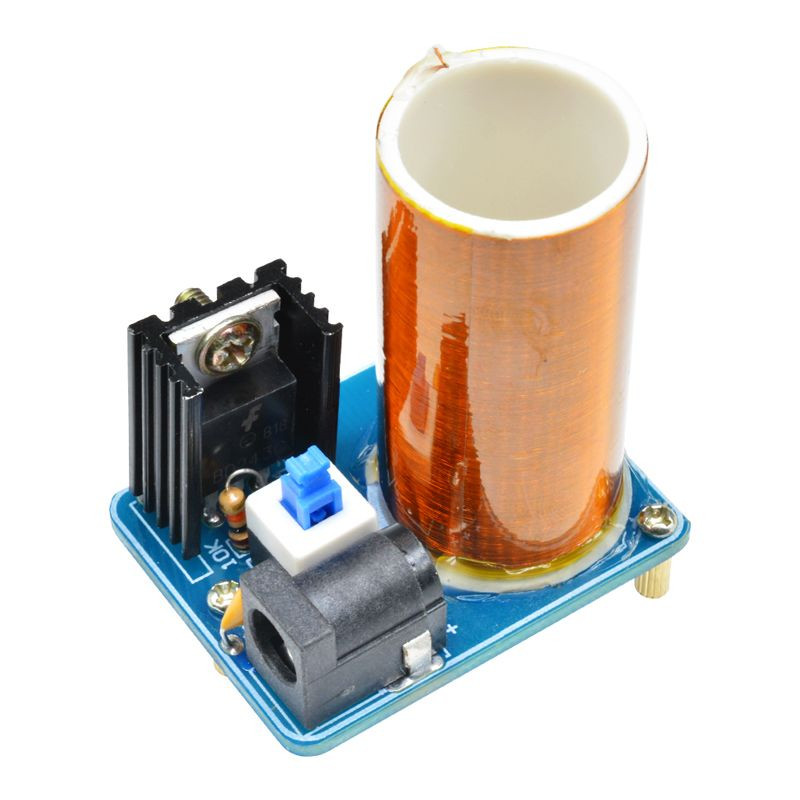
Bottom plate size: 4.0*8.0 mm
Power: 15w
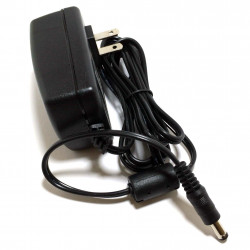
Power input: DC 9-12v, current 2A, DC5.5 interface/pin header
Audio input: 3.5mm jack, can connect mobile phone, mp3, computer audio
Precautions:
1. The power is not high, and one will not be injured by electric shock, but it is not recommended to touch the arc on the top of the coil, as it will cause a burning sensation.
2. Do not touch the heat sink after a long time of power on, the temperature is very high, especially when using 24v high voltage, it will generate a lot of heat, if necessary, please add a cooling fan to dissipate heat, or the working time is too long and it is too hot, please turn it off for a while electricity use.
3. It is recommended that the body or other objects should not be close to the coil when the Tesla coil is working, that is, there should be no other objects within half a meter next to the coil, because other objects as good conductors will make the coil form a good loop and absorb the energy of the coil, making Tesla When the coil is pulled, the demonstration effect becomes poor or cannot be demonstrated! caution;
4. Do not put mobile phones, mp3 and other electronic equipment close to the coil, otherwise the high-frequency magnetic field generated by the coil will interfere, causing mobile phones, mp3 and other equipment to malfunction or even be damaged!
About Soldering onto the Board:
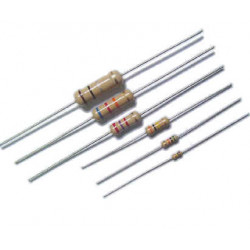
1. There are two resistors of 10K, which should correspond to those marked on the board.
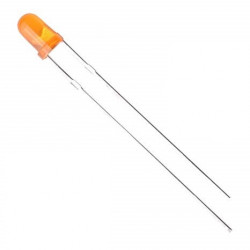
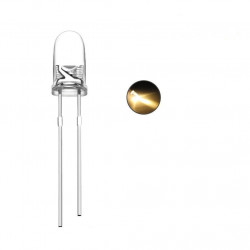
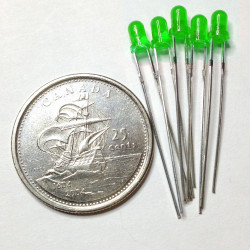
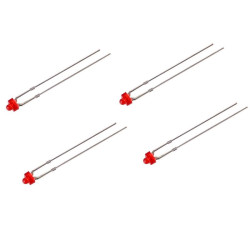
2. The positive is the long leg for the electrolytic capacitor and the LED.
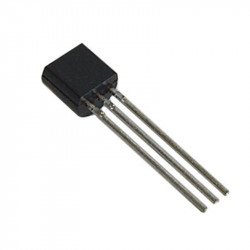
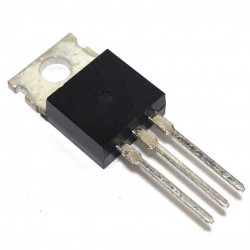
3. The BD243 chip should correspond on the board.
4. Use fire to burn off the outer paint or scrape off the paint on the wire ends at the bottom of the Tesla before soldering
5. The intersection of the black lines must be on the outside, and do not touch the Tesla coil, preferably at a distance of about 1mm.
6. If the black wire is long, cut it short, wrap it around once and place it at the height of the middle of the coil.
7. The power supply voltage is 9-12V DC and the current is about 2A. It can be connected to the DC socket or connected to the fan interface.
8. Do not insert the audio plug to the end, only halfway or there will be interference
9. The blue light is the power light. If it is not on, check the resistor's solder and the solder of the light. It does not matter whether the red light is on or not, as long as there is an arc.
Packing List
PCB board x1
Tesla Coil x 1
3MM LED Blue x2
DC 5.5 jack x1
105 monolithic capacitor x2
8*8 self-locking switch x1
10K resistor x2
15*10*20 small heat sink x1
3*6 screw x1
BD243 x1
neon bubble x1
M2*4 screw 4
M2*7 double-pass copper column 4
This is a DIY kit parts that need to be soldered by yourself. Electronic DIY reproduction is risky and requires a certain basic knowledge of electronics. Please see PID: 160682 for the pre assembled kit
Product ID: 160682

