


.png)


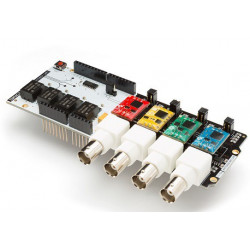
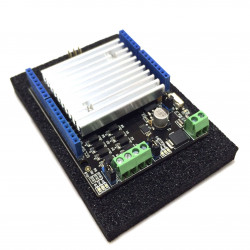
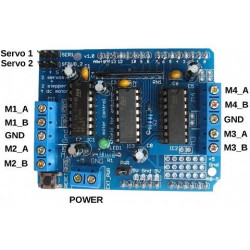
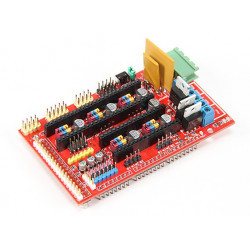
All pictures are for illustrative purposes only.
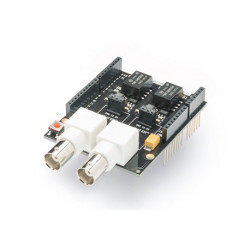
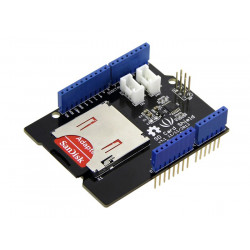
You can get going quickly - saving data to files on any FAT16 or FAT32 formatted SD card, to be read by any plotting, spreadsheet or analysis program. Adafruit has a tutorial on how to use two free software programs to plot your data
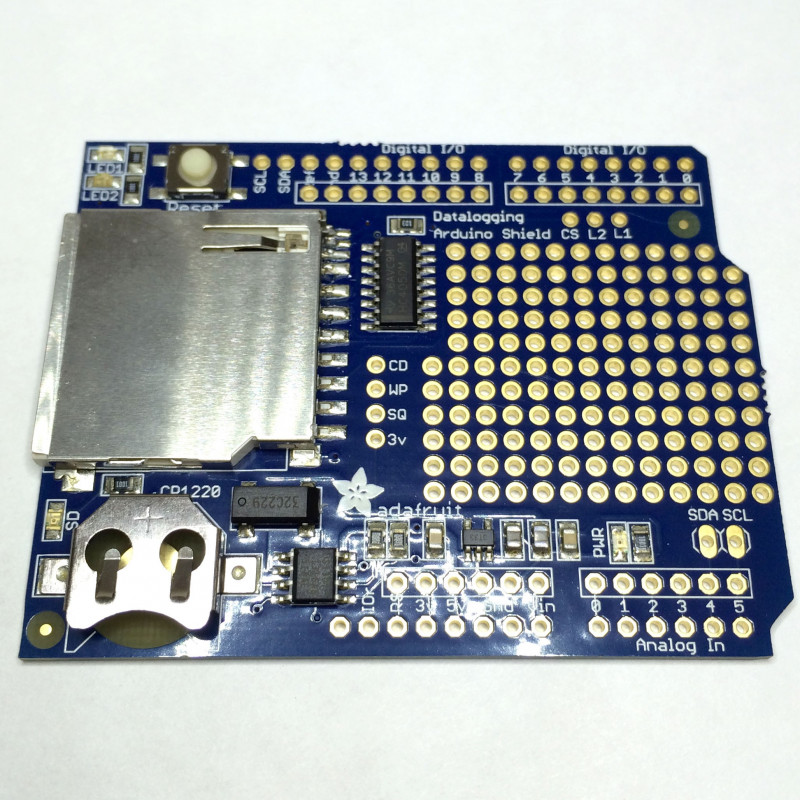
The included Real Time Clock timestamps all your data with the current time, so that you know precisely what happened when!
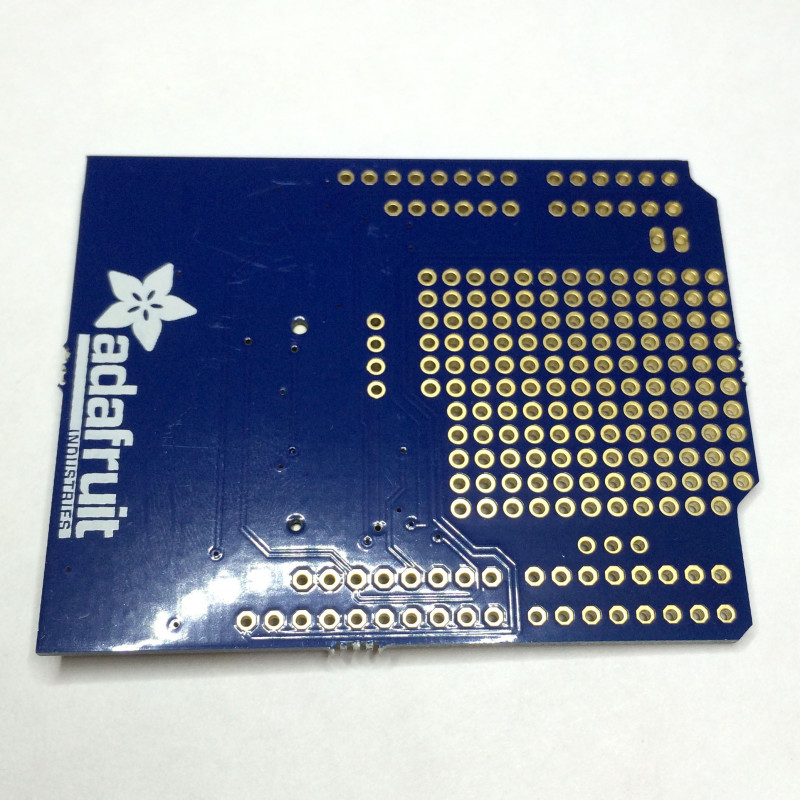
Please note that this item does not come with an Arduino (you'll need one to use with the shield), or an SD card. It requires a CR1220 battery for the RTC. The sheild now comes with all the components soldered on and tested but does not have headers installed. You'll need some basic soldering skills to put it together, but even if you don't have much experience you can get it done in under 15 minutes.
For more information, including libraries, schematics and examples see the data logger shield webpage . Right now the documentation still refers to the Adafruit kit version, an update will be made by them in the near future.