
location_on 4131 Fraser St. Vancouver BC Get Directions
phone 604-875-1993 Call us
access_time Hours
| Monday - Friday | 9AM - 5:30PM |
| Saturday - Sunday & Holidays | Closed | See Holiday Hours |


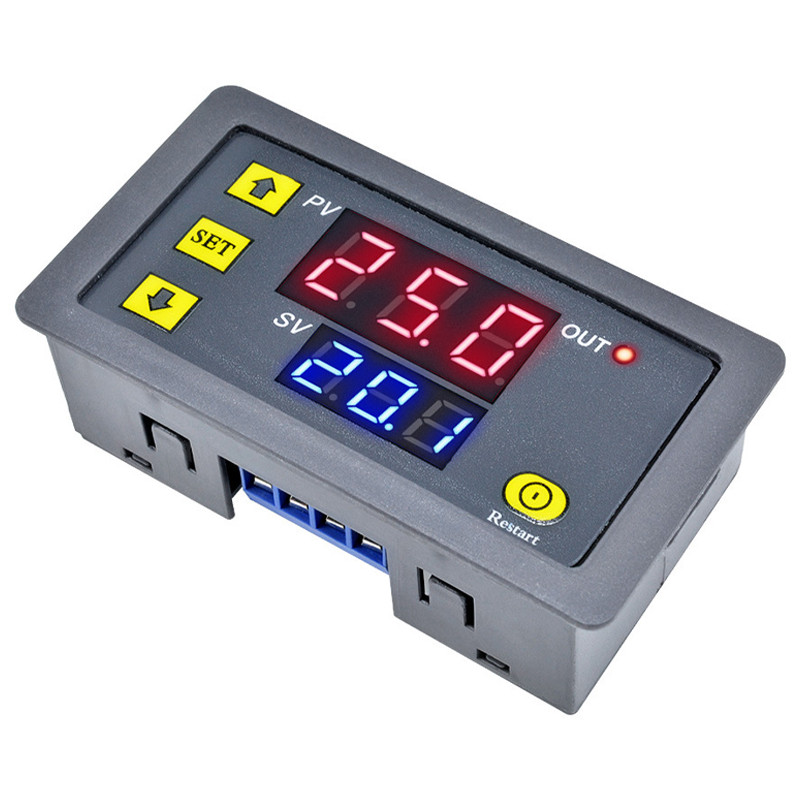
Time range: 0-999 hours, 0-999 minutes, 0-999 seconds, three types can be selected
Display panel size: 79mm*43mm
Installation size: 71mm*40mm*24mm
Features: 18 kinds of time combinations can be set
Relay: original 20A relay, power <1800W
Working voltage: AC 110-220V
Instruction Manual:
1. Before use, first remind the user to pay attention. After setting the data, you must wait for 6s. After 6s, the module will automatically save the memory setting data.
2. Short press the SET button once to enter the time setting mode, the red digital tube flashes, adjust the timing time T1 by pressing the button plus or the button minus, short press the SET button again after setting T1, the green digital tube flashes, and press the button to add and subtract Set the timing time T2, T2 time is set, short press the SET button again, the system will automatically save the memory setting time or wait 6s, the module will automatically save the data after 6s.
3. Long press SET to enter the parameter setting mode. There are two sets of parameters for users to choose P0 and P1. In the current mode, short press SET to switch between P0 and P1. Under the P0 parameter, you can set the timing mode that suits you by pressing the button plus and minus. Under the P1 parameter, the working mode can be set by adding and subtracting buttons.
P0--0: T1 timing time mode is seconds
P0--1: T1 timing time mode is minute
P0--2: T1 timing time mode is when
P1--0: The relay is closed after delaying T1 time (T1 timing)
P1--1: The relay is released after a delay of T1 time (T1 timing)
P1--2: The relay is closed after a delay of T1 time (T1 timing), and then after a delay of T2, the relay is released (T2 timing), and it ends.
P1--3: The relay is released after a delay of T1 (T1 timing), and after a delay of T2, the relay is closed (T2 timing), and it ends.
P1--4: The relay is closed after a delay of T1 time (T1 timing), and the relay is released after a delay of T2 time (T2 timing), and the cycle is repeated.
P1--5: The relay is released after a delay of T1 time (T1 timing), and after a delay of T2, the relay is closed (T2 timing), and the cycle is repeated.
Example: For example, a customer needs to turn on for 10 seconds and turn off for 20 seconds, and the cycle will continue. The setting method is as follows:
T1 set time 10, T2 set time 20
P0-0 (T1 timing range is seconds)
P1—5 (Timer working mode is to work first and then stop and keep looping)
Restore factory settings: The data is messed up due to the wrong setting. When you can't set it, you can choose to restore the factory settings. Press and hold SET and then power on.
