


.png)


All pictures are for illustrative purposes only.
-
 close
close -
-
-
-
-
-
-
-
-
-
-
-
-
-
Featured Item
-
-
-
-
-
-
-
more electrical devices
More electrical devices -
more electrical devices
More electrical devices
-
-
more electrical devices
More electrical devices -
more electrical devices
More electrical devices
-
-
Featured Items
-
more electrical devices
More electrical devices
-
-
-
-
-
-
-
-
Featured Item
-
-
-
-
-
-
-
Featured Items
-
-
-
-
-
-
-
-
Featured Items
-
-
-
Featured Items
-
-
-
-
-
-
-
-
-
-
-
Featured Items
-
-
-
-
-
-
-
-
-
Featured Items
-
-
-
-
-
-
featured
-
-
-
Featured Items
-
-
-
-
-
-
-
Featured Items
-
-
-
-
-
Featured Items
-
-
-
-
Featured Products
-
-
-
More Filaments
More Filaments
-
-
-
-
more electrical devices
More electrical devices
-
-
more electrical devices
More electrical devices
-
-
Electrical Devices
-
-
-
more electrical devices
More electrical devices
-
-
-
-
-
-
-
Featured Products
-
-
-
Featured Products
-
-
-
-
-
-
-
-
Brands/Manufacturers
-
-
Manufacturer 3
-
-
-
-
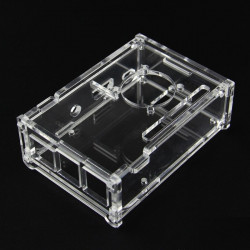
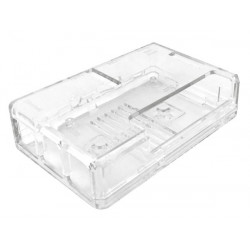
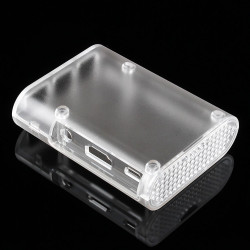
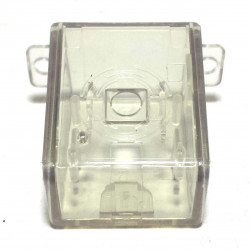
RASPBERRY PI 5 CLEAR/TRANSPARENT ACRYLIC CASE

Description
Note: Does NOT include raspberry pi 5 and official active cooler
How To Install
The Case Consists Of 6 Layers Of Acrylic Panels, Please Install According To The Following Steps
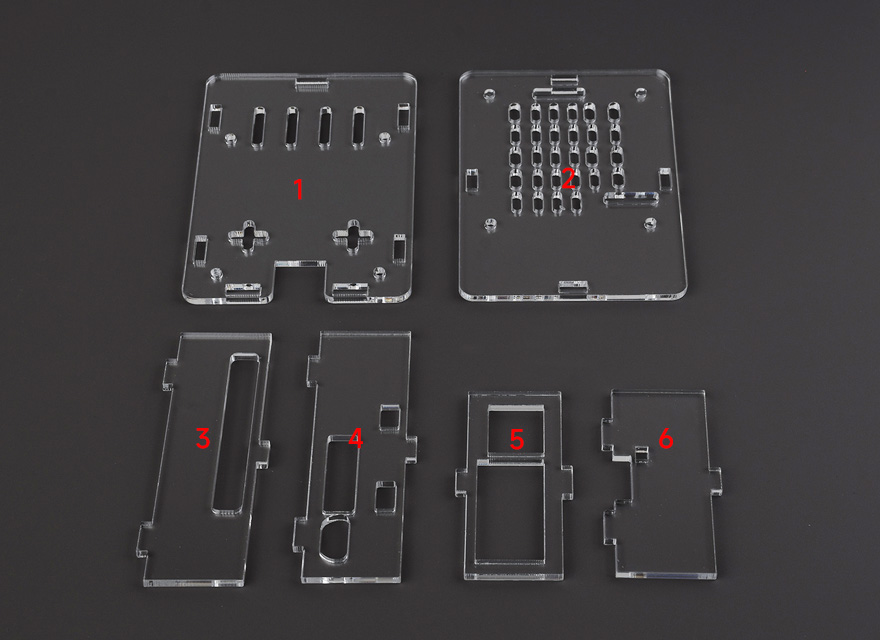
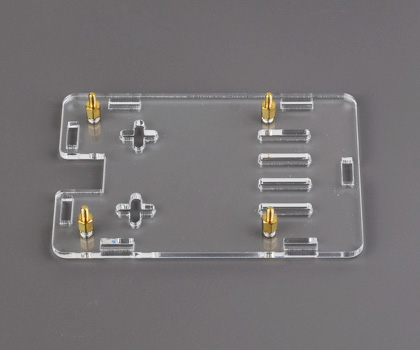
1. Install the short standoffs and screws onto the 1st acrylic panel, please pay attention to the orientation.
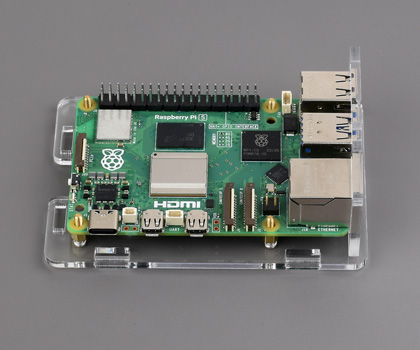
2. Install the 5th acrylic panel to the USB ports and Ethernet port of Raspberry Pi 5, and then mount Raspberry Pi 5 on the short standoffs as shown.
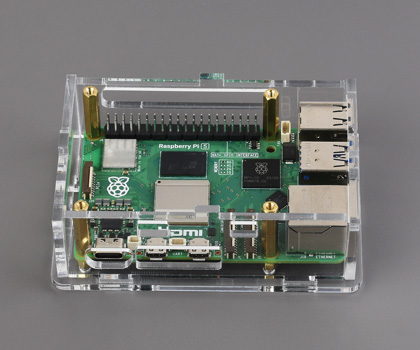
3. Fix the Raspberry Pi 5 via long standoffs, then install the 3rd, 4th, and 6th acrylic panels.
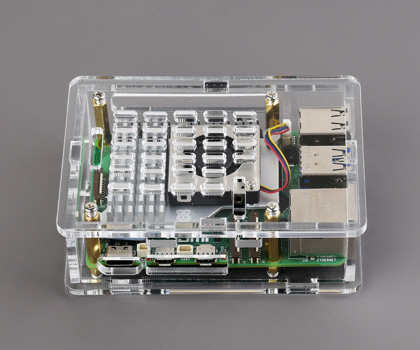
4. Install the active cooler on the Raspberry Pi 5, then install the 2nd acrylic panel on the top and fix it via screws.
* for reference only, the Raspberry Pi 5 and active cooler are NOT included.
if you need to install peripherals such as a camera and DSI display, please connect the peripheral cables first before installing the 2nd acrylic panel.
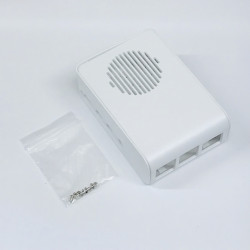
- Acrylic Pieces for assembling the case
- Nonskid rubber pad (4PCS) x1
- Screwdriver x1
- Screws and standoffs pack x1