


.png)


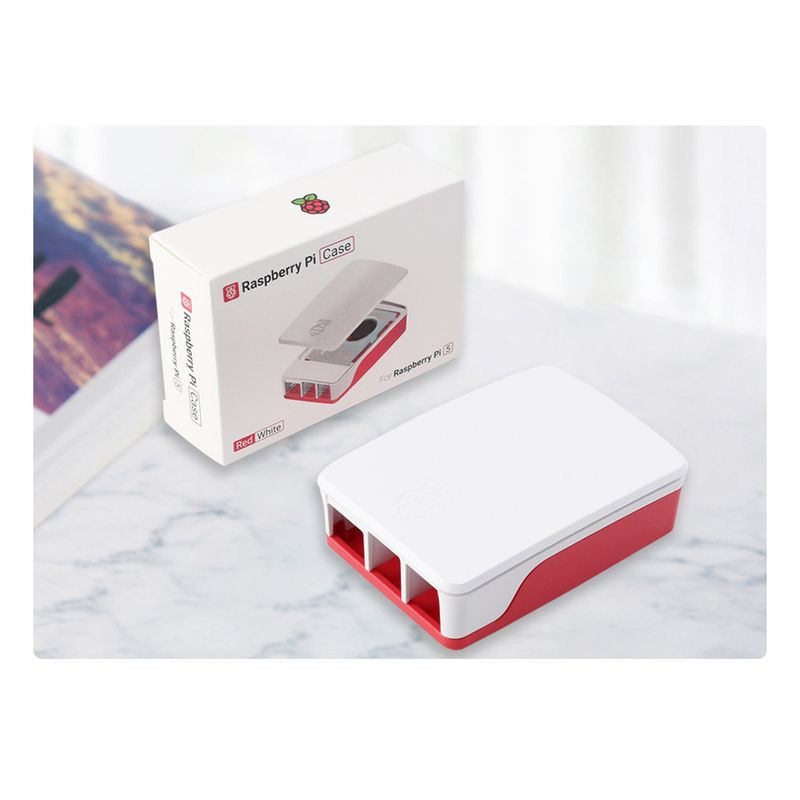
All pictures are for illustrative purposes only.
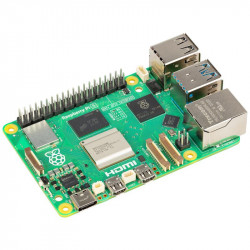
Raspberry Pi not included
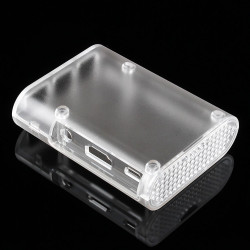
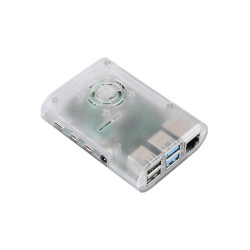
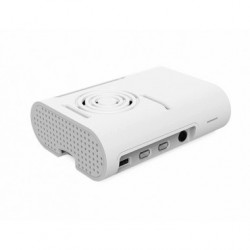
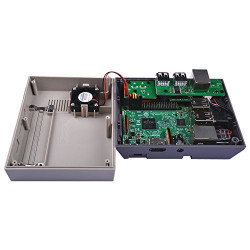
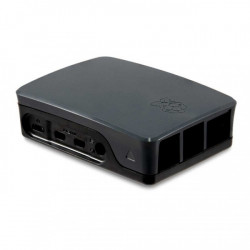
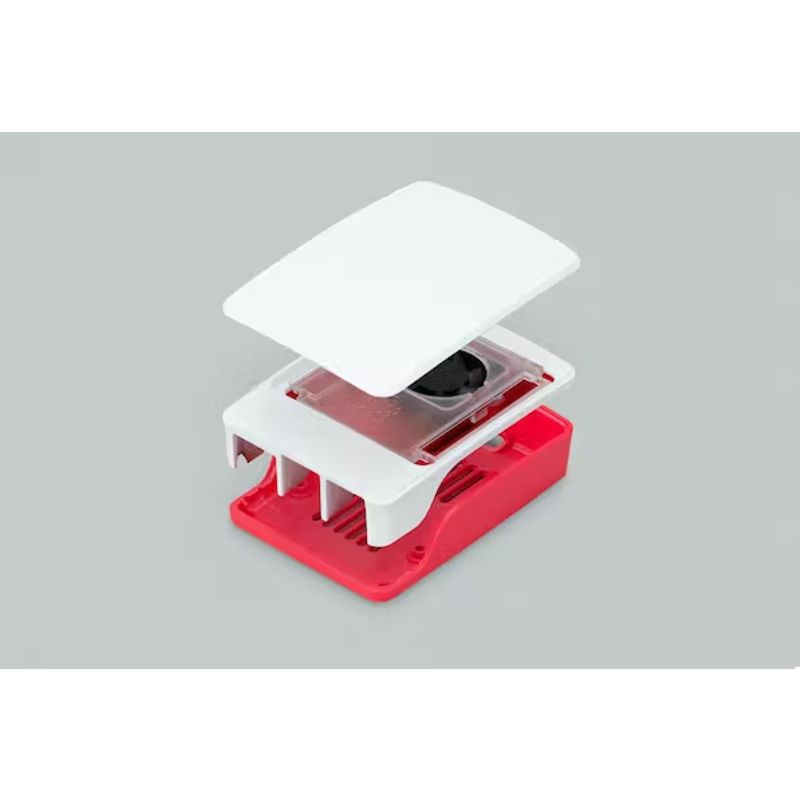
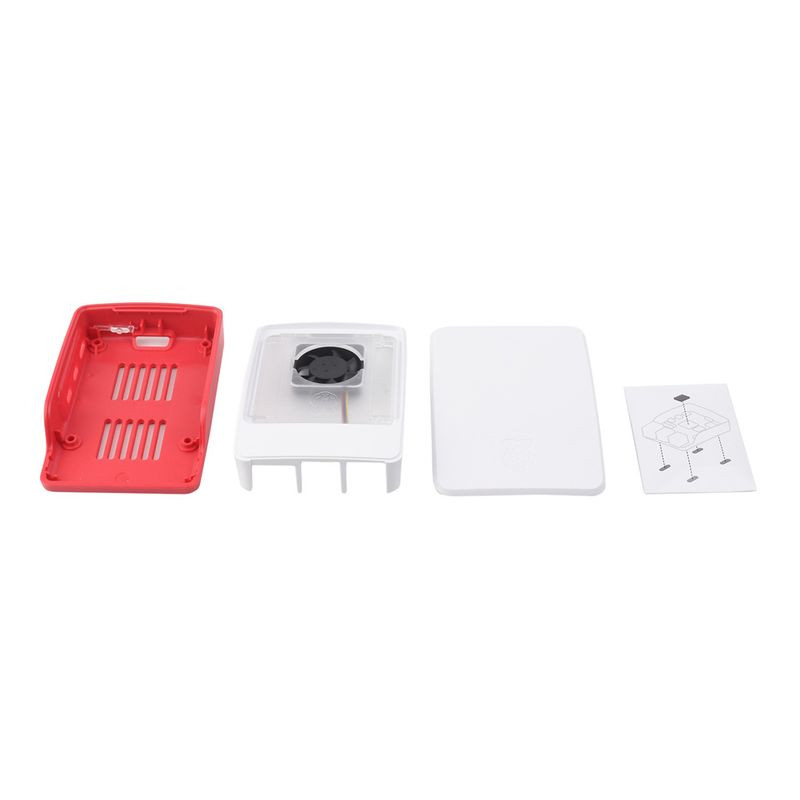
The Raspberry Pi Case for Raspberry Pi 5 is a clip-together four-part enclosure with an active cooling fan. It keeps your Raspberry Pi 5 at a comfortable operating temperature even under heavy load.
Features
Specification
Assembly instructions
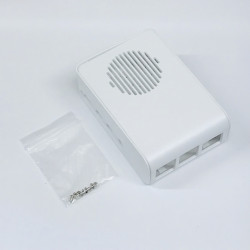
1. Unpack the case from the box and remove the accessories envelope.
2. Remove the heatsink from the envelope inside the case.
3. Remove the heatsink backing and stick the heatsink to the raised section of the CPU
on Raspberry Pi 5. Push down on the heatsink to achieve good adhesion of the heatsink
to the CPU.
4. Remove the four silicone feet from the accessories envelope and stick these to the
underside of the base of the case in the lozenge-shaped areas provided.
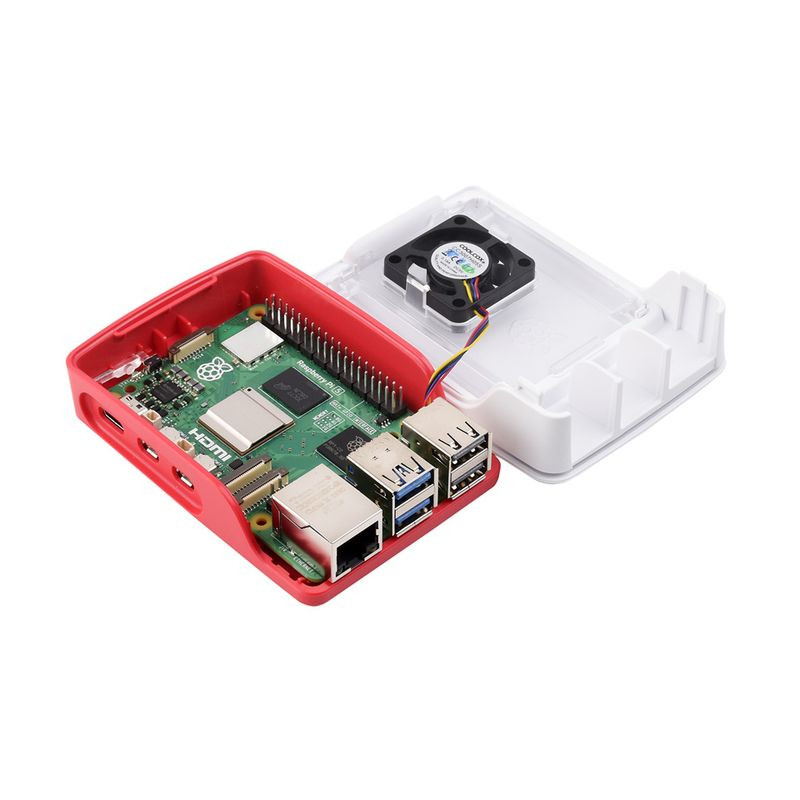
5. Unclip the white frame containing the fan assembly from the red base, and insert your
Raspberry Pi 5 into the base. The board fits under the plastic tab at the microSD card
end. Make sure that the board sits flat in the base and that the connectors are aligned to
the holes.
6. Lay the white frame containing the fan assembly upside-down next to the red base,
and connect the fan cable to the four-pin connector labelled ‘FAN’ on Raspberry Pi 5.
Take care to ensure that the cable’s connector is the correct way round when inserting it.
Make sure that the fan cable is fully connected.
7. Clip the white frame containing the fan assembly back onto the red base to complete the
assembly.
8. Now you can connect the necessary cables to your Raspberry Pi and turn on the power.
The button on the case can be used to power up or power down your Raspberry Pi.
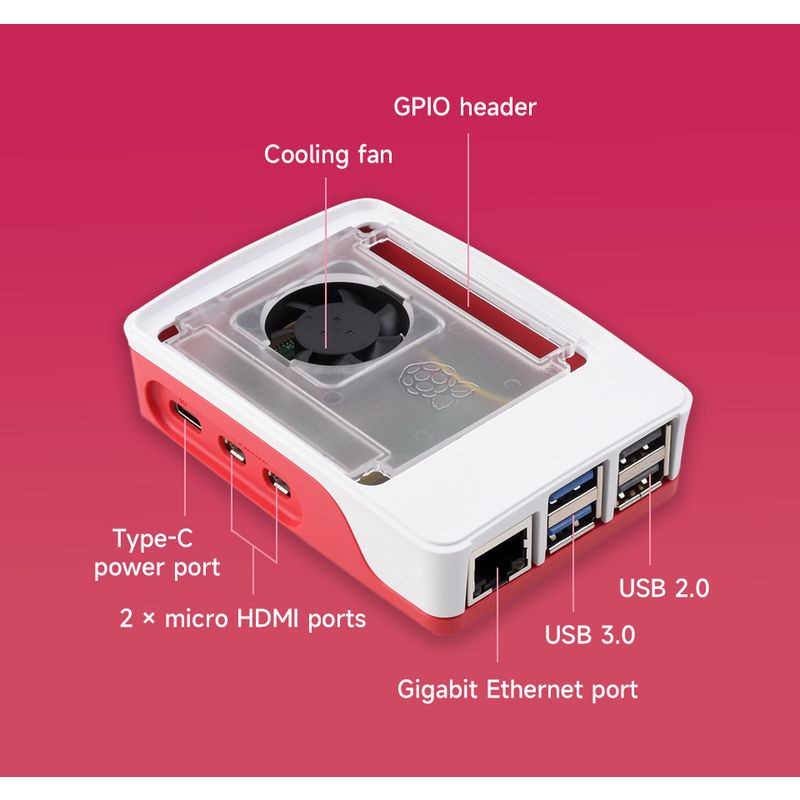
9. Optionally, the lid can be unclipped to reveal the fan, mounting points, and cable breakout
slots, such as GPIO.
10. Holes for optional HAT and case mounting and for case stacking are provided
in the transparent part of the fan assembly and in the underside of the base.
Suitable stand-offs and GPIO header extenders (not included) are required to mount
HATs on top of the case.
11. The fan assembly with its transparent surround can be unclipped from the white frame
if you wish to use the case without the fan.