


.png)


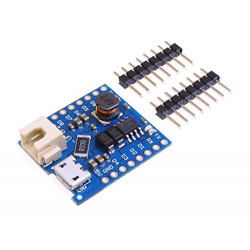
All pictures are for illustrative purposes only.
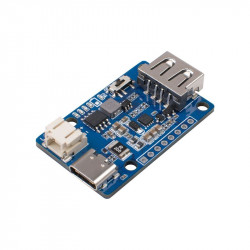
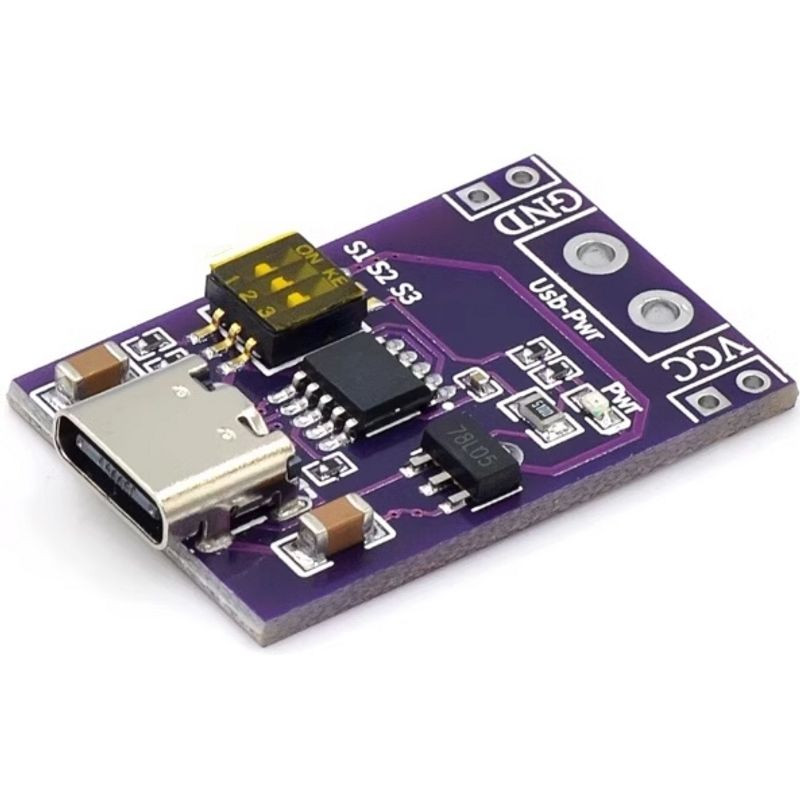
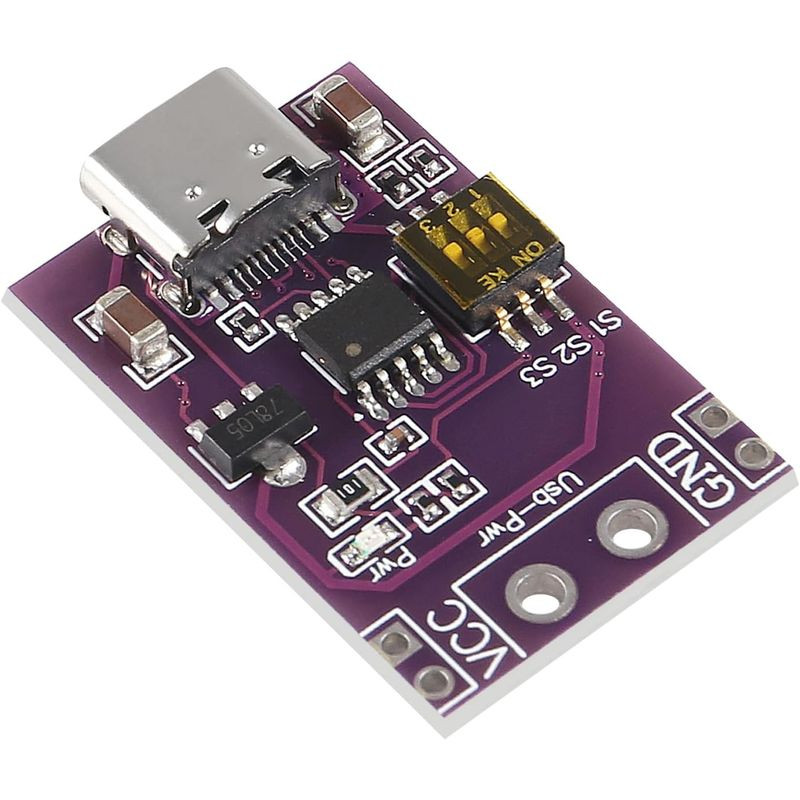
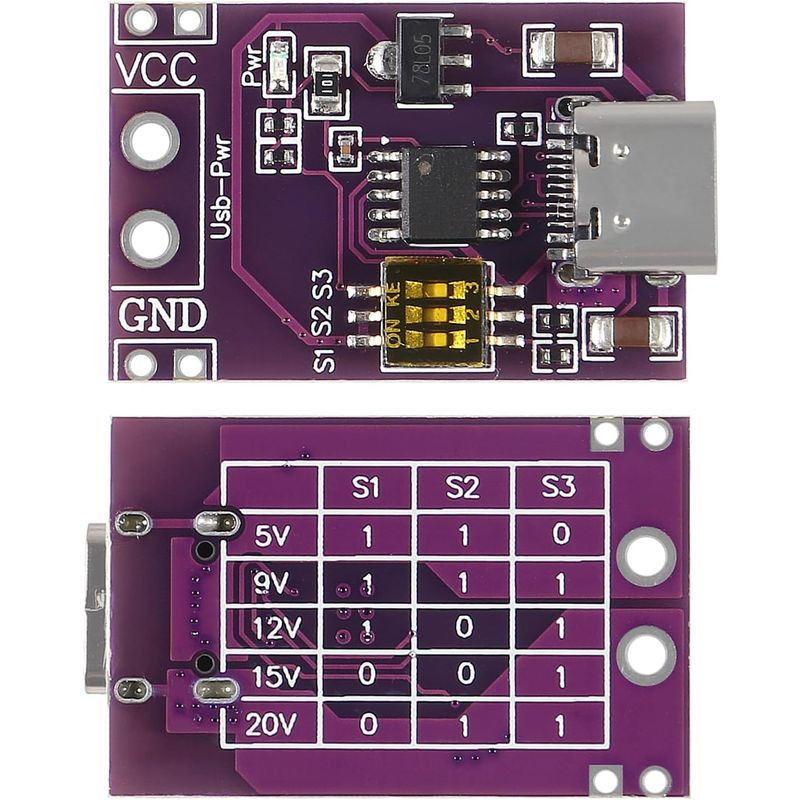
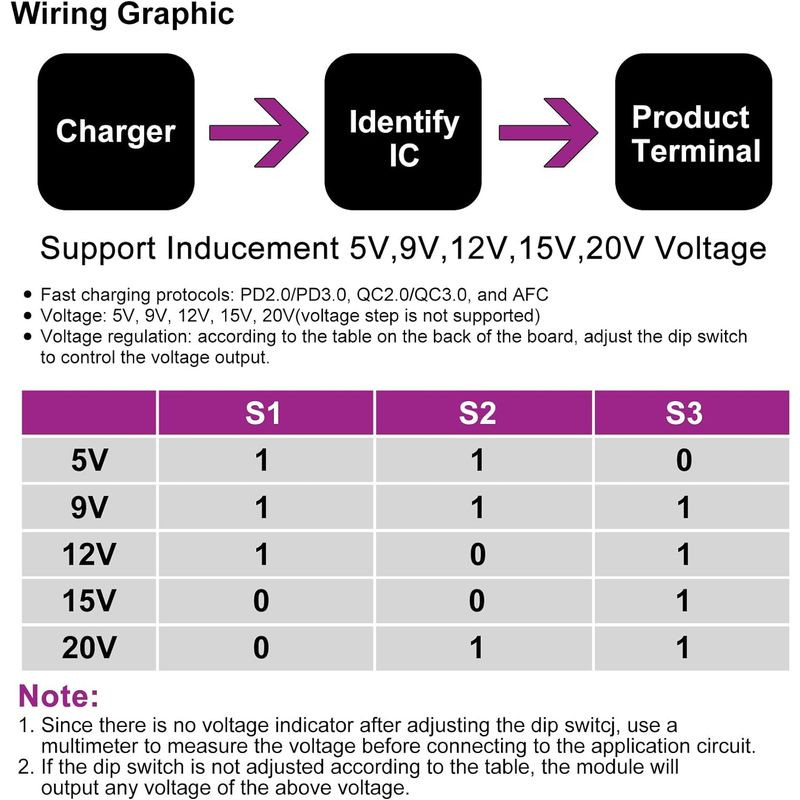
Fast charge support protocol: PD2.0/PD3.0, QC2.0/QC3.0, AFC
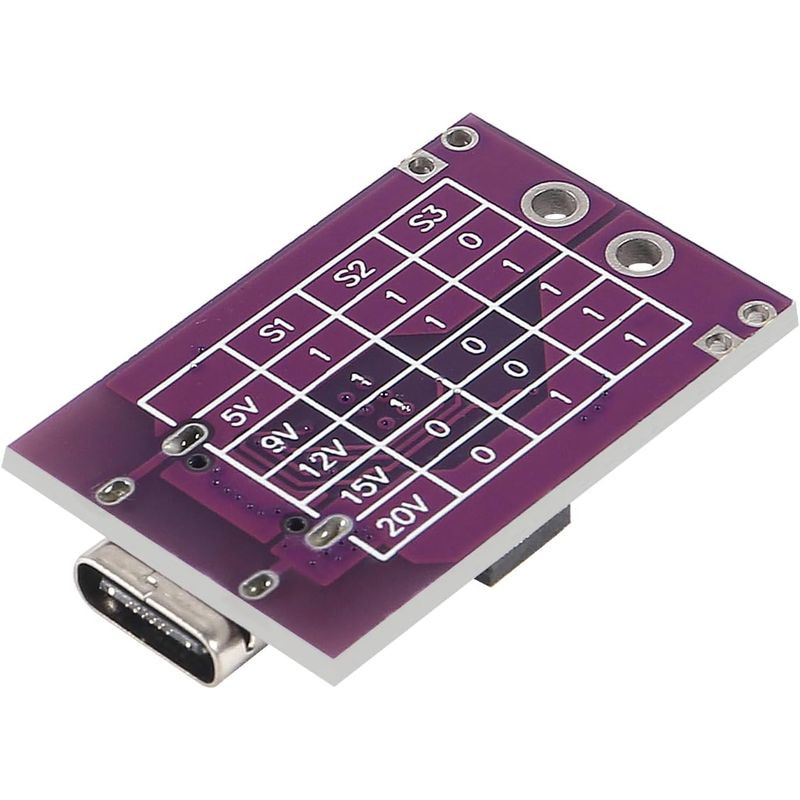
Support Voltage: 5V, 9V, 12V, 15V, 20V (voltage step is not supported)
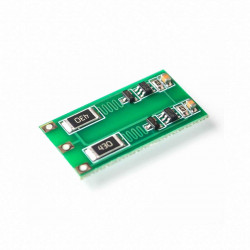
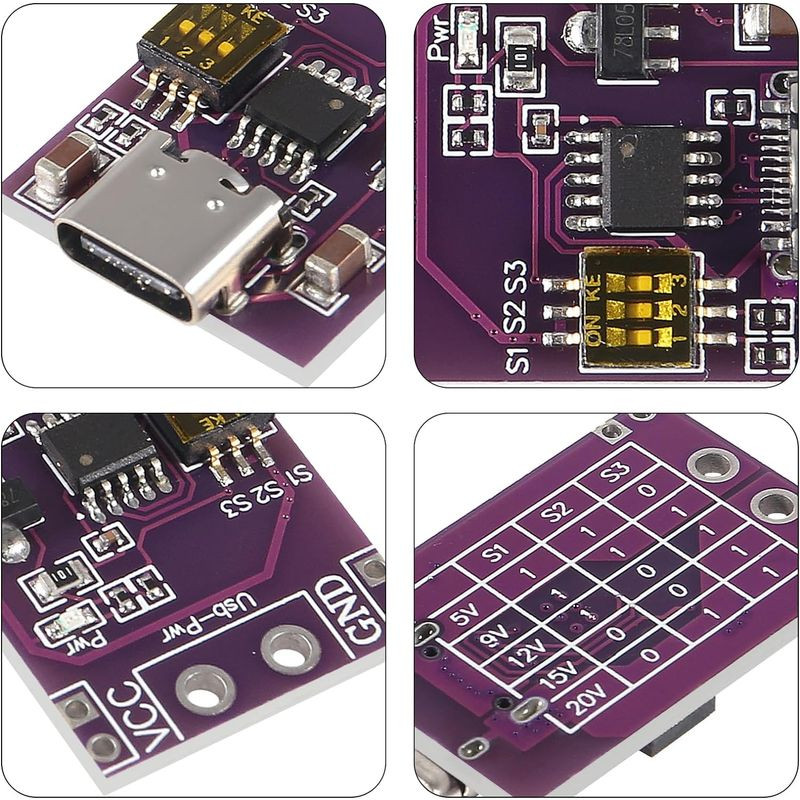
Voltage Adjustment Method: According to the table on the back of the board, adjust the DIP switch to control the voltage output. (NOTE: Charger must support voltage output)
After adjusting the DIP switch, because there is no voltage indicator, it is recommended to use a multimeter to measure the voltage before connecting to the application circuit.
If the DIP switch is not adjusted according to the table, the module will output any one of the above voltages.