All pictures are for illustrative purposes only.
Happy Holidays! Our store will be closed December 25th, 26th and January 1st for Christmas and New Years.
Store address and hours
location_on 4131 Fraser St. Vancouver BC Get Directions
phone 604-875-1993 Call us
access_time Hours
Monday - Friday | 9AM - 5:30PM |
Saturday - Sunday & Holidays | Closed | See Holiday Hours |

Open • Closes at 5:30PM
close
Menu
-
close
-
CATEGORIES
-
-
-
-
-
-
-
-
-
-
-
-
-
Featured Items
-
-
-
-
-
-
-
More mirco-controllers
-
More Developement Tools
-
-
More Prototyping
-
More Modules
-
-
Featured Items
-
More prototyping Tools
-
-
-
-
-
-
-
-
Featured Item
-
-
-
-
-
-
-
Featured Items
-
-
-
-
-
-
-
-
Featured Items
-
-
-
-
-
-
-
-
-
-
-
-
-
Featured Items
-
-
-
-
-
-
-
-
-
Featured Items
-
-
-
-
-
-
Popular Cleaners
-
-
-
Featured Items
-
-
-
-
-
-
-
Featured Items
-
-
-
-
-
Featured Items
-
-
-
-
Featured Products
-
-
-
-
-
more motor
-
-
more power supplies
-
-
Featured Items
-
-
-
more electrical devices
-
-
-
-
-
-
-
Featured Items
-
-
-
-
-
-
BRANDS
-
- PROJECTS
-
COMMUNITY
-
-
-
FEATURED POSTS
-
-
-
- SALE
- GST/HST Break
AT42QT1010 BREAKOUT BOARD
Description
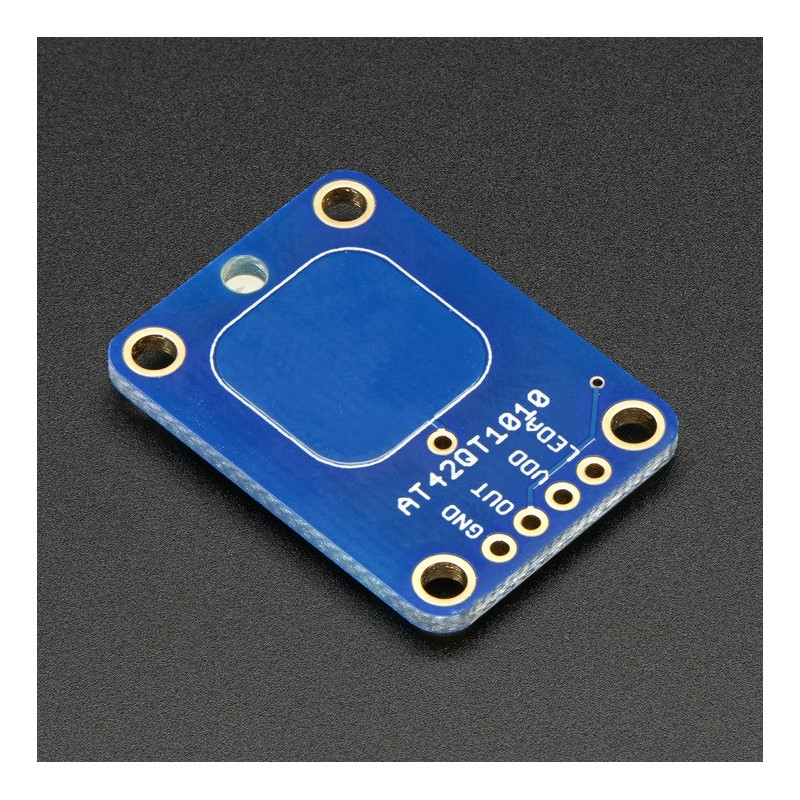
This breakout board is the simplest way to create a project with a single "momentary" capacitive touch sensor. No microcontroller is required here - just power with 1.8 to 5.5VDC and touch the pad to activate the sensor.
When a capacitive load is detected (e.g. a person touches the sensor-pad area) the red LED lights up and the output pin goes high. You can also solder a wire to the middle pad and create your own capacitive pad if the built-in one isn't suited to your project.
If you want to save power, the LED can be disconnected from the output pin (cut the trace between the jumper marked as such). We designed this breakout to have the more-responsive "fast mode" which draws about 0.5mA. If you need ultra-low (~50uA) power usage, the mode jumper can be cut on one side & soldered closed on the other to fix it into that mode. Check the datasheet for specific power usage measurements.
Comes with a fully assembled board, and a small stick of 0.1" header so you can solder and plug it into a breadboard. For additional contacts, we suggest using copper foil, then solder a wire that connects from the foil pad to the breakout.