


.png)


All pictures are for illustrative purposes only.
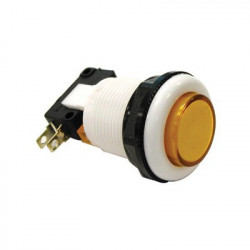
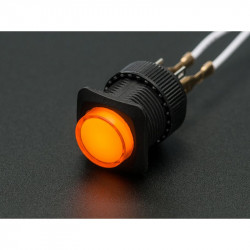
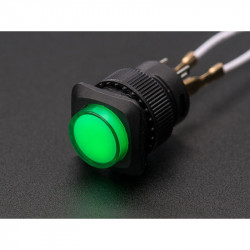
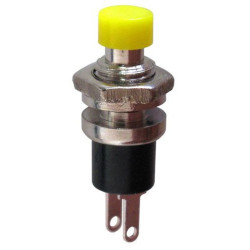
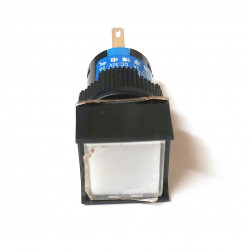
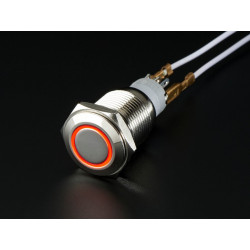
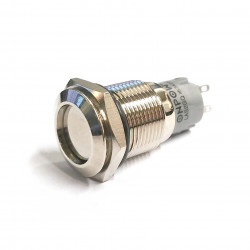
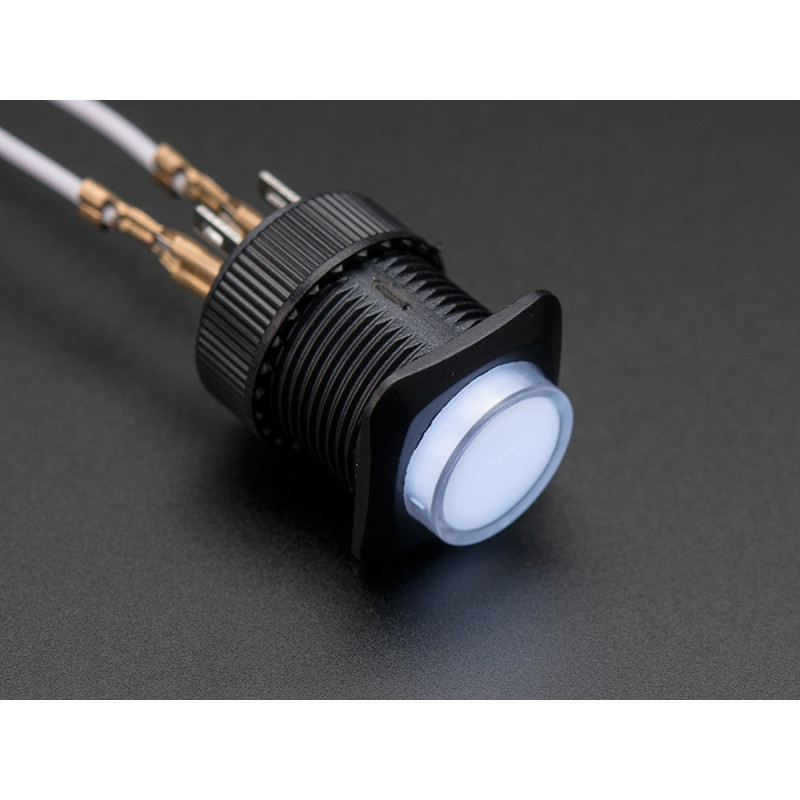
A switch is a switch, and an LED is an LED, but this LED illuminated button is a lovely combination of both! It's a medium sized button, large enough to press easily but not too big that it gets in the way of your project panel. It has a built in LED that can be controlled separately from the switch action - either to indicate or just to look good.
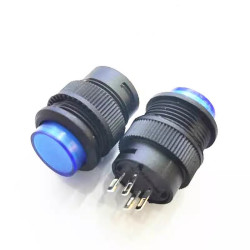
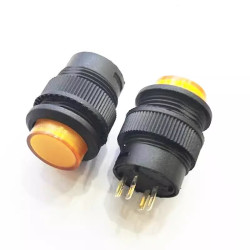
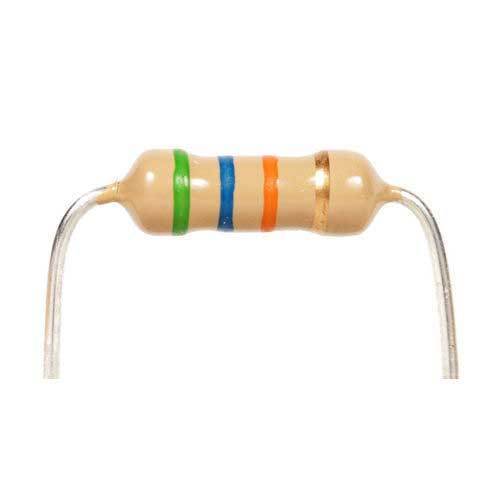
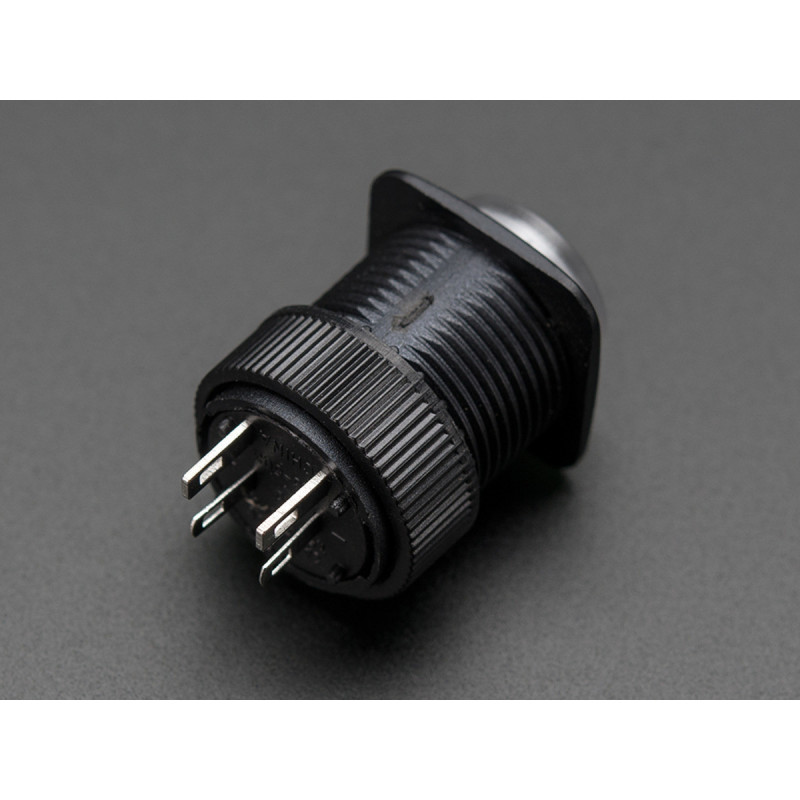
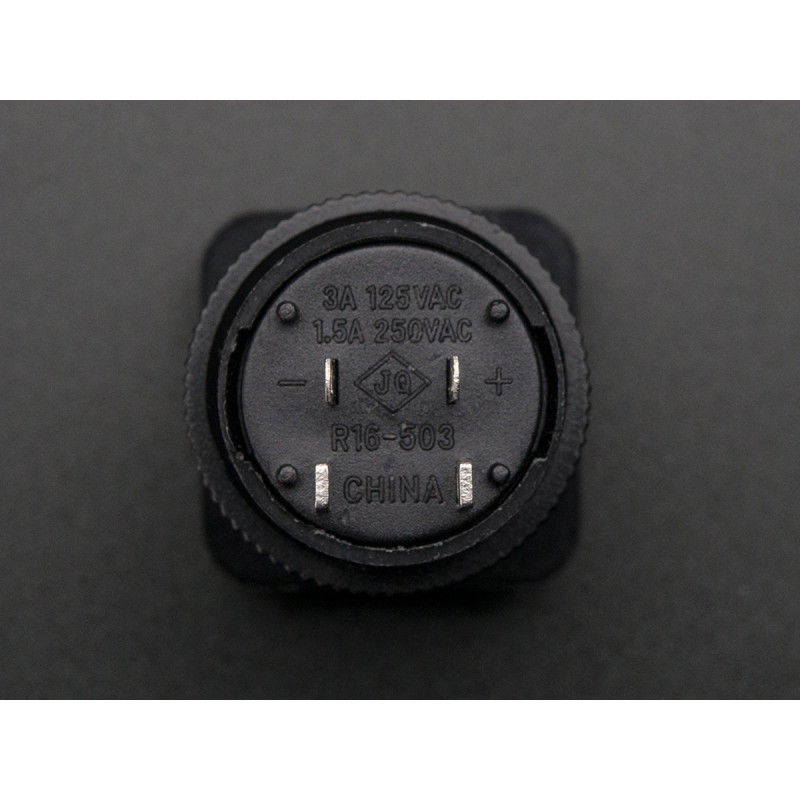
The body is a black plastic with the LED built inside. There are two contacts for the button and two contacts for the LED, one marked + and one -. The forward voltage of the LED is about 3V so connect a 220 to 1000 ohm resistor in series just as you would with any other LED to your 3V or higher power supply.
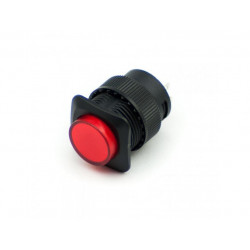
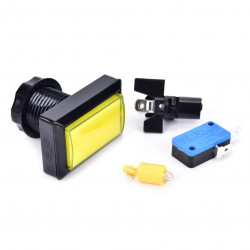
This particular button has a white body and LED and is latching on/off. The two switch contacts are either connected or disconnected. When you push the button they will switch from one to the other, like an on-off switch. The LED is separated from the button, so you can make it light up when on, light up when off, always lit, etc.