


.png)


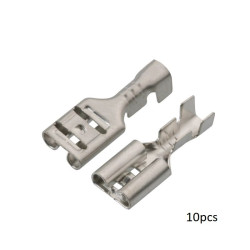
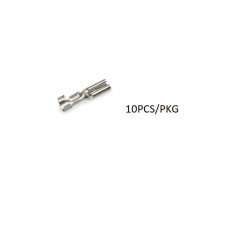
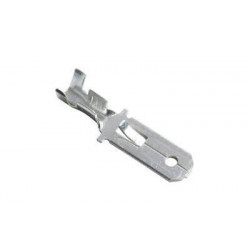
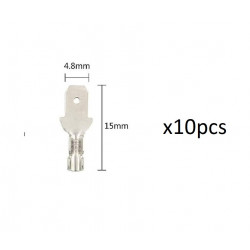
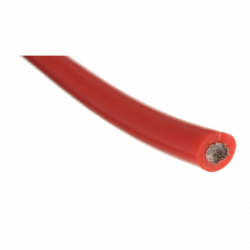
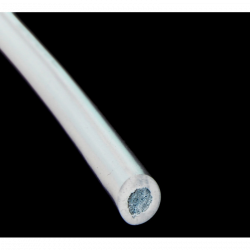
All pictures are for illustrative purposes only.
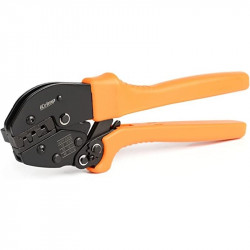
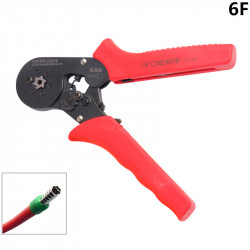
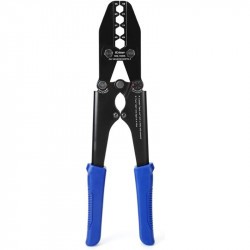
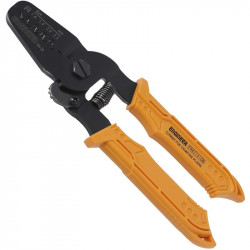
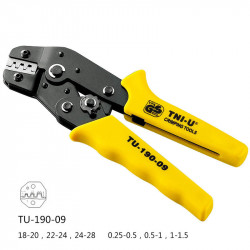
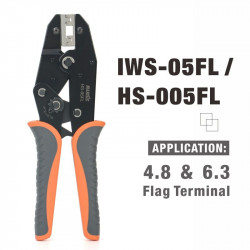
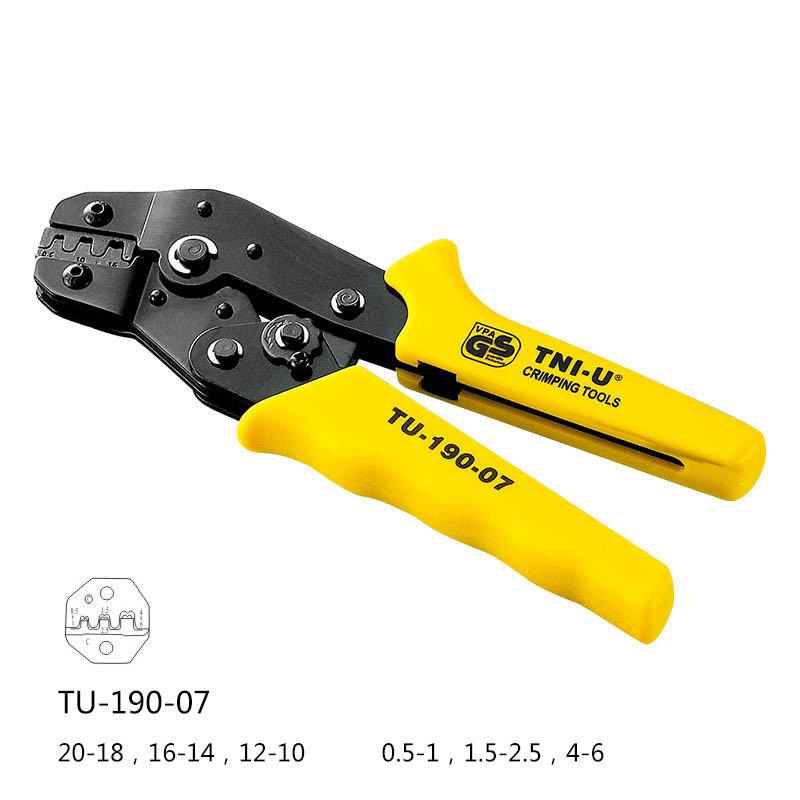
| AWG | 26-16AWG |
| Capacity |
0.5-1.5mm |
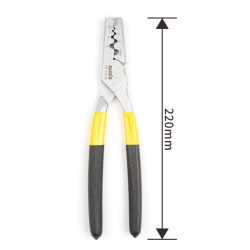
| Length | 190mm |
| Weight | 0.35kg |
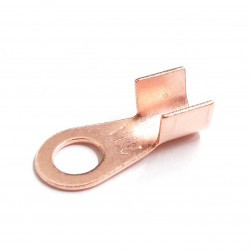
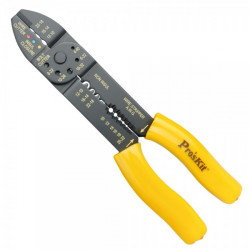
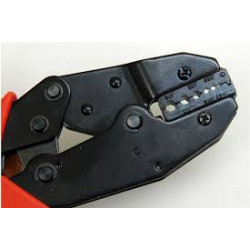
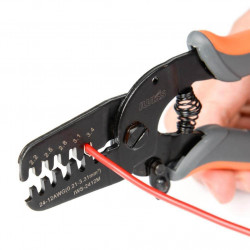
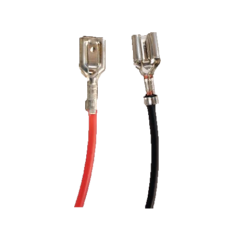
Prepare the wire by stripping about 1/8" (3 mm) of insulation from the end. Place the wire in the crimp pin, lining it up so that the stripped portion lies between the inner set of tabs on the crimp pin, while insulated wire lies between the outer set of tabs.
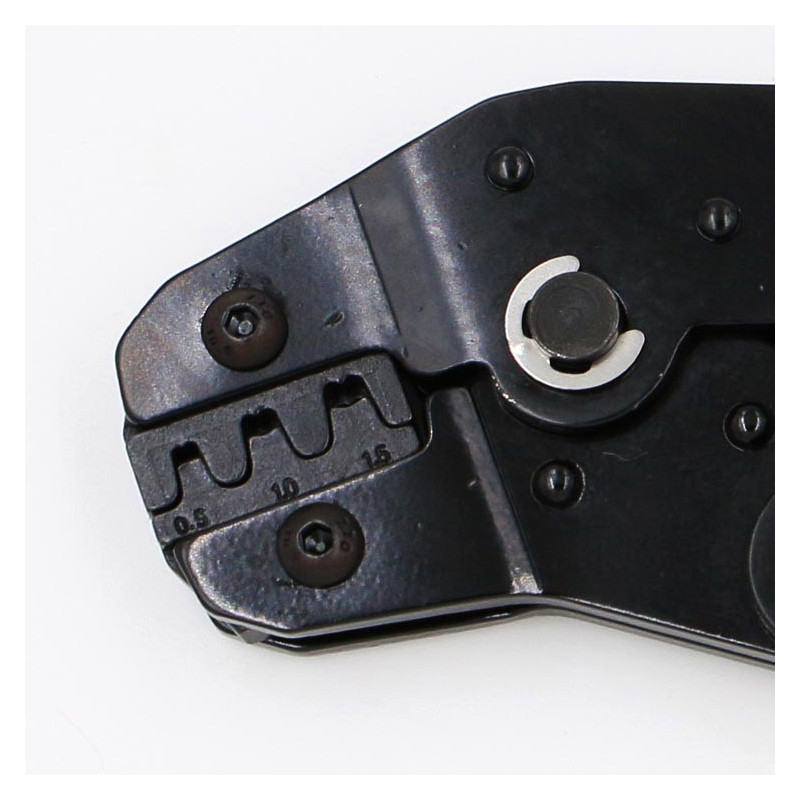
Place the wire and crimp pin on the appropriate tooth of the tool’s die, making sure that the insulated end is on the raised and wider half of the tooth. The tabs should point toward the cavity on the other side of the die so that the tool bends them inward around the wire when it closes.
Close the jaws of the tool slowly and completely until they release. The tabs on a properly crimped pin should form one barrel around the wire conductors and another barrel for strain relief around the wire insulation.
Tip: The strain relief barrel sometimes ends up a little overly flattened, making it too wide to fit comfortably into the crimp pin housing. In such situations, you can use a pair of pliers to gently squeeze the wider axis of the barrel into a more cylindrical shape that will slide easily into the housing.
Product ID: 6221